gis
The process of Georeferencing is pretty simple. You essentially have an image or map that is not georeferenced in space correctly, and you want to georeferenced it (i.e. shift, rotate and stretch) to locate it correctly in space. You do this by identifying common or known points in your ungeoreferenced image, and choosing the corresponding point in georeferenced space. For example, if you see the corner of a building in your ungeoreferenced image, which you can also locate precisely on a correctly georeferenced image, you simply pick on the point in the first image, pick on the corresponding point in the second image, and then it shifts the image accordingly. You repeat the process with as many points as you can find (a minimum of four typically) and keep going until the images overlay accurately.
- Start by loading the Georeferencing toolbar (right click on empty toolbar and make sure it is checked).

- Add your georeferenced image (
2002_SulphurCreek_AP.tif). This should overlay perfectly. Zoom to this layer. Take note of the projection used (you can tell by clicking on the properties of the layer and scrolling down under Data Source). Make sure that this layer and the data frame take on the correct coordinate system for this image, which is California State Plane II (feet) with a North American Datum of 1983. It is critical that you add this layer first. The data frame (as you know) adopts the CS of the first layer added to the map. The data frame CS dictates the CS for the newly georeferenced image. So you need to ensure that the data frame CS is set correctly before rectifying your results (see below).
2002_SulphurCreek_AP.tif
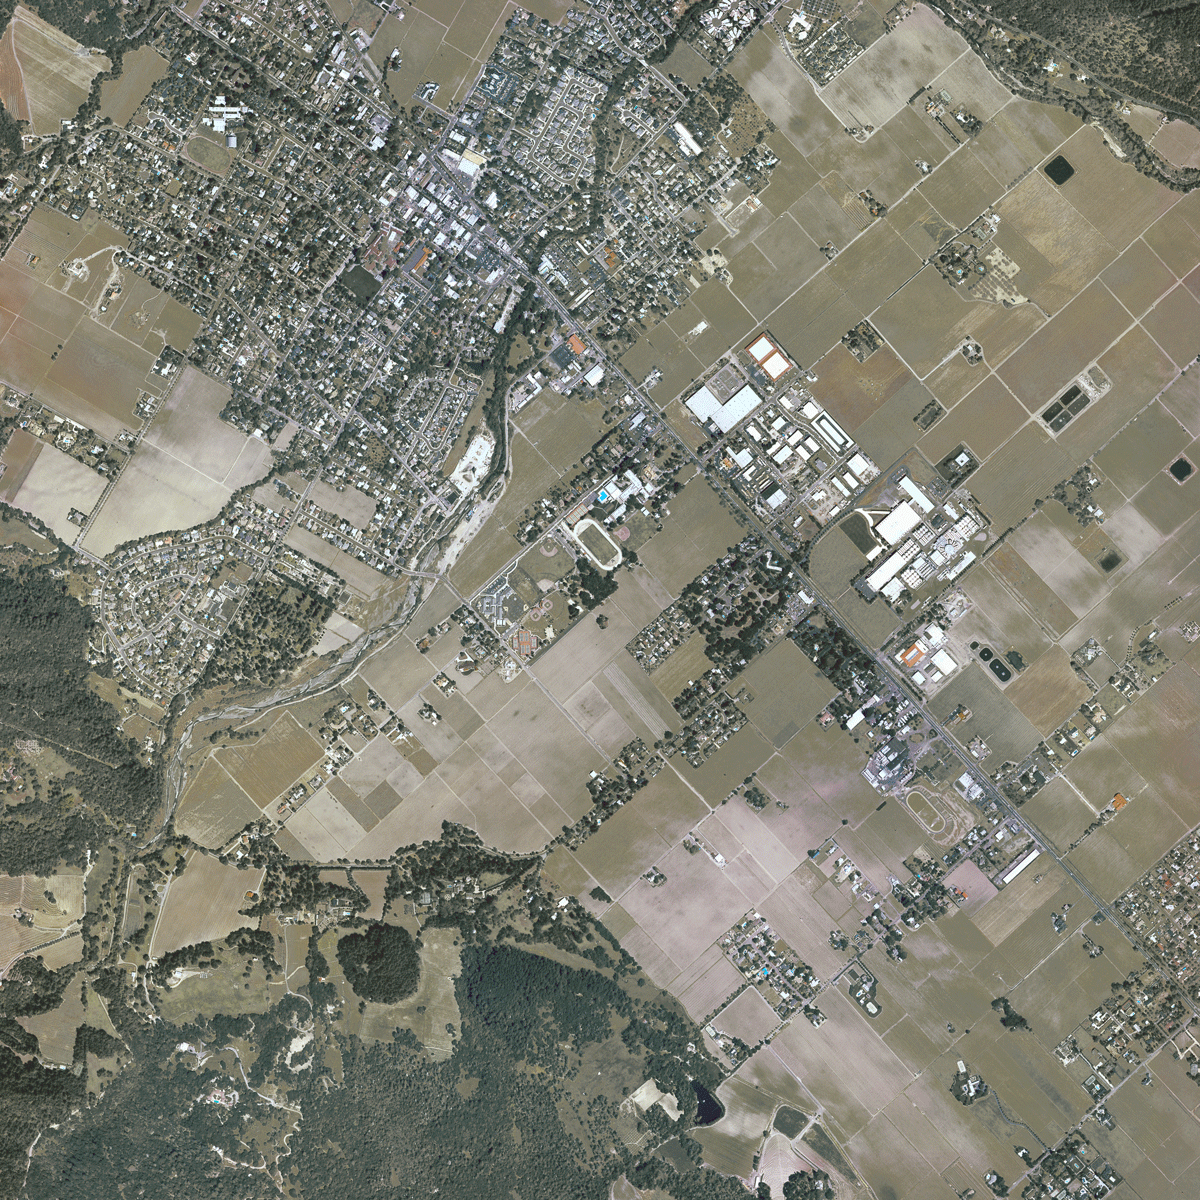
This is a reduced resolution screenshot of the 2002 Aerial Image.
- Add your ungeoreferenced image (
1953_StHelena_AP.jpg). This should be somewhere off in space and not overlay correctly (you will also get a warning message that there is no coordinate system associated with the image). Take note of where this image is placed and the fact it does not have a projection.
1953_StHelena_AP.jpg
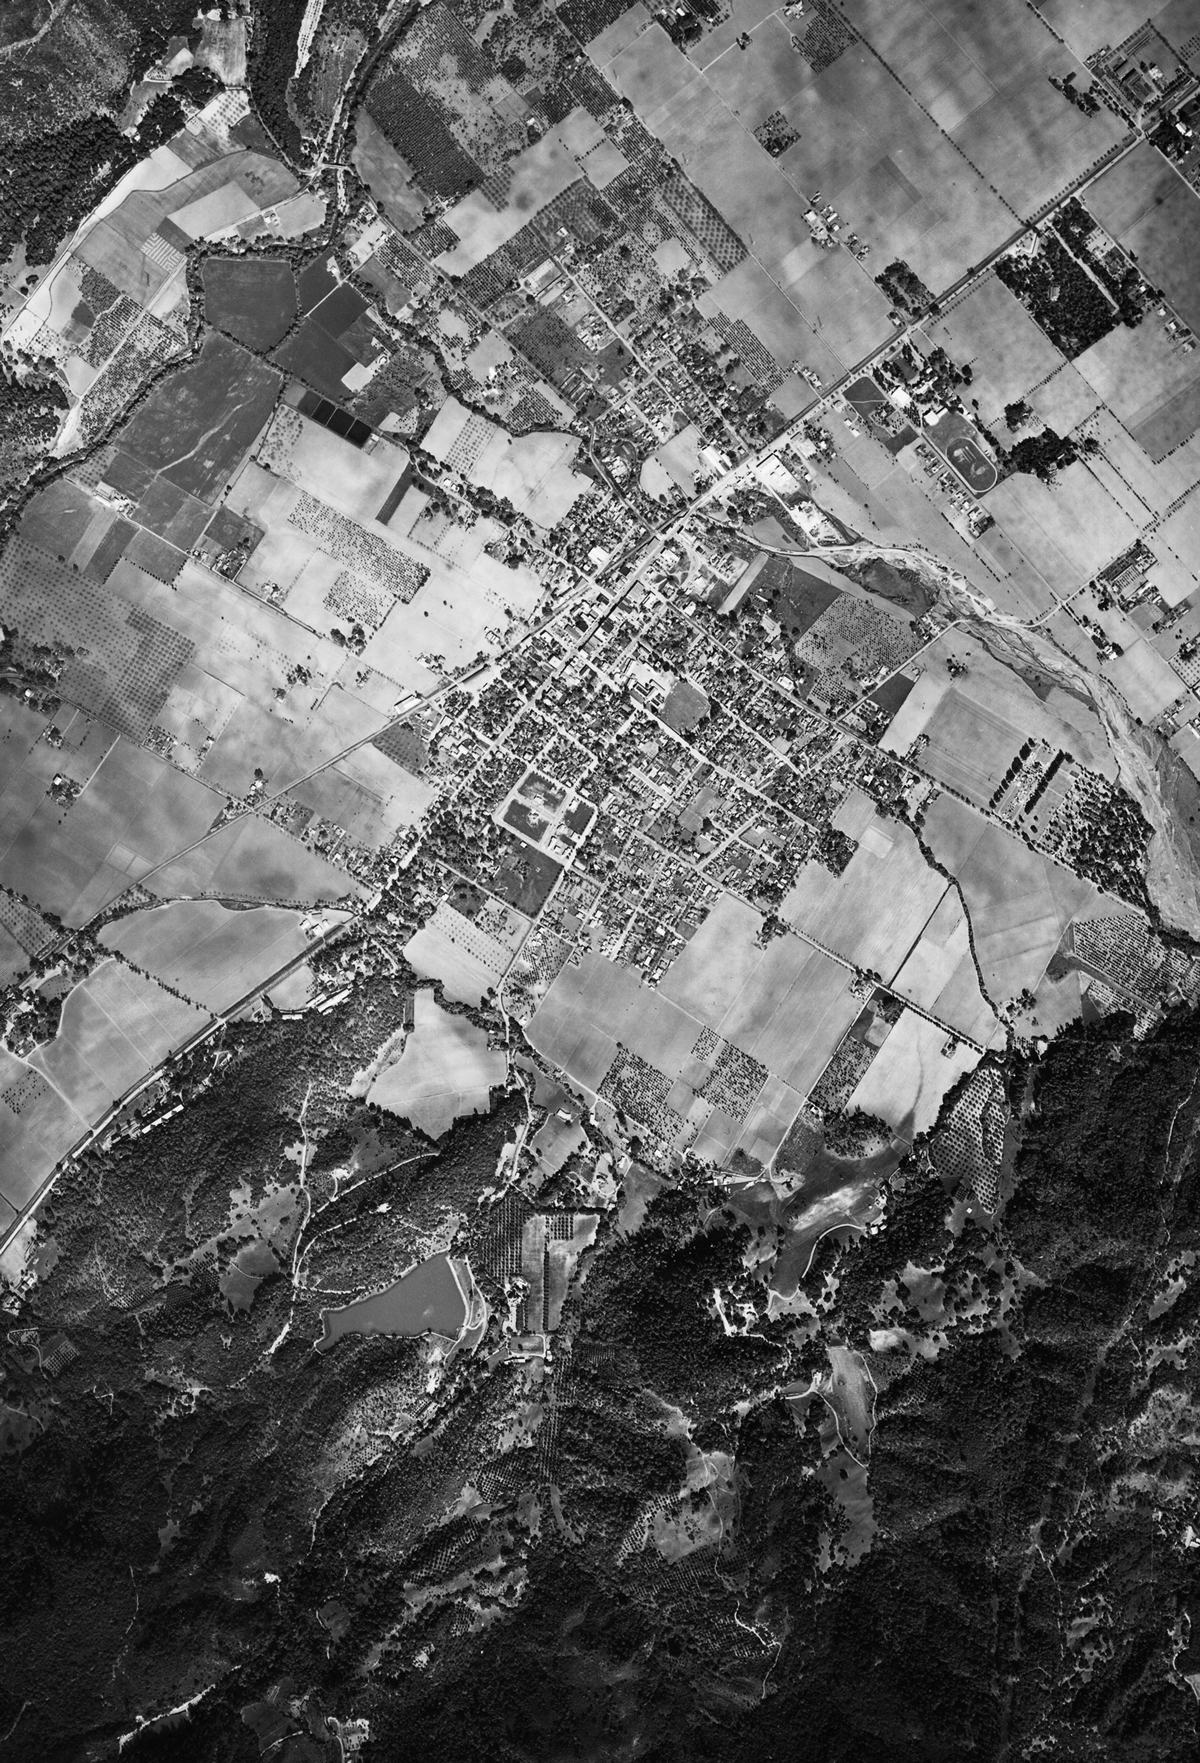
This is a reduced resolution version of the 1953 Aerial photo (notice that north is not up the page).
- Change the current layer in the Georeferencing toolbar to ‘
1953_StHelena_AP.jpg.’ - Click on the Georeferencing menu and use the ‘Fit to Display’ command. This should make the image visible and overlaid in roughly the same location.
- Choose a point visible on both photographs (you may need to zoom around and toggle on and off the two photo layers). Click on the ‘Add Control Points’ button
 . Click on the first point on the 1953 image (see here for more information).
 - Turn off the visibility of the 1953 image. Find the corresponding point in the 2002 image. Click on it. Turn back on the 1953 image and zoom out. You’ll notice the image has shifted.
- Repeat steps 6 & 7 for another point somewhere else. Now the image should be rotated and stretched. Click on the Link Table
 button. This shows your points. If you make any mistakes, you can always delete a single point. Notice the transformation drop down. As you add points, you have more options for transformations. When you get a set of points you are happy with, try adjusting the transformation type until you get a fit you are happy with. **Note transformation type for your map and writeup. **
 - Repeat steps 6 & 7 at least four more times until you are happy that the images overlay. During this process you can click on the Link Table button and see how the adjustment is working (see also these options). You can delete points with high RMS to improve the overall fit. When happy with your fit, you should note and report your final RMS error.
- When happy with your georeferenced image, you can save the solution from the link table and save the stretched image from the Georeferencing menu with the ‘Rectify’ command. The saved link table is a text file that allows you to later reload the unregistered image and modify your registration patterns (i.e. change, add, or delete control points and change the transformation type). The rectify command physically saves the rectified image as a new file. You have to specify the file type (e.g. TIFF, JPEG, IMG, etc.) the resolution, the resampling technique and where you want to save it. After you’ve saved it, you need to add it to your data frame. If you don’t, when you reopen your map, the georeferenced image will not be present and the original unreferenced image will show up back in the wrong space.
WARNING!
When you georeference an image in your Map Document, the changes ARE NOT saved in the map document. You can only save the link table, and the original image is NOT modified. You must use the Rectify command at the end to save a georeferenced image. You then need to load the rectified image manually back into your Map Document. If you want to get rid of the Black background, Go to the layer properties -> symbology -> and check the display background values of 0 , 0 ,0 and choose transparent for color. Also, pay special attention to the details of the coordinate systems between Task 1 and 2.
What to Submit
Prepare for your webpage a figure showing the two georeferenced images side by side.
- To be convincing, your map should make this comparison very easy and should include elements that work to illustrate the correctness of the analysis (grid, matching extents and scale, final RMS error etc.)
See What to Submit section for full details.